11.1. Removing devices from a migration project
For different reasons, a device might have been included in a migration project and notified several times, before you found the reason why this device didn’t start the migration (e.g. because it is unable to connect to the network anymore or was replaced by a new one and does not need to be migrated etc.).
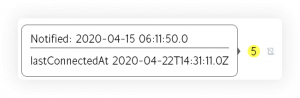
For example, the device with the following status was notified several times, but does not seem to be ‘connected’ to the source system anymore:
In this case, you can remove one or more devices from either all migration projects or from a specific migration project:
- Chapter 10.1.1 describes how you can remove single devices from one specific migration project.
- Chapter 10.1.2 describes how you can remove several devices from all migration projects.
In this way, you get a better overview of the migration status, as the device is no longer considered as non-migrated and does not unnecessarily increase the number of devices still to be migrated. And you stop the EBF Onboarder from sending further reminders to a device which should not/cannot be migrated.
NOTE:
- As it already received an invitation, a license will be counted for it.
- You cannot remove a device from the migration project which has already started the migration and retired from the source system. The EBF Onboarder will expect the device to restart the migration later until the migration is finished.
11.1.1. Withdrawing devices from a specific migration project
You can manually remove devices from a specific migration project by marking them as ‘done’. The status will then change from yellow to green.
Follow these steps to mark a device as ‘done’:
- Go to the EBF Onboarder dashboard and click on ‘Migration Details’ for the migration project you want to change to access the migration project dashboard.
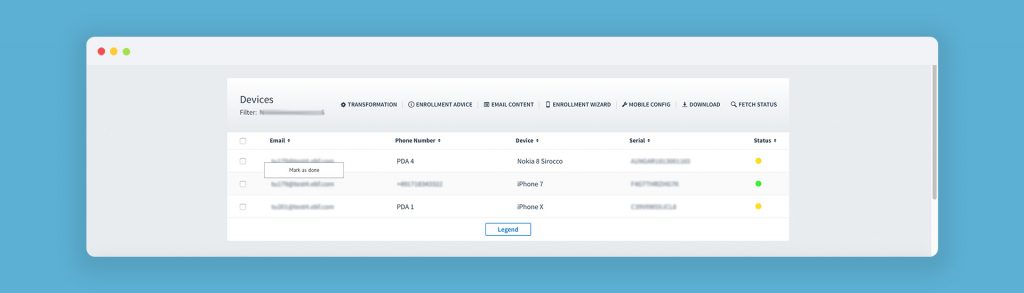
- Check the box for each user’s email address you want to mark as ‘done’, make a right click somewhere in the table and click on ‘Mark as done’:
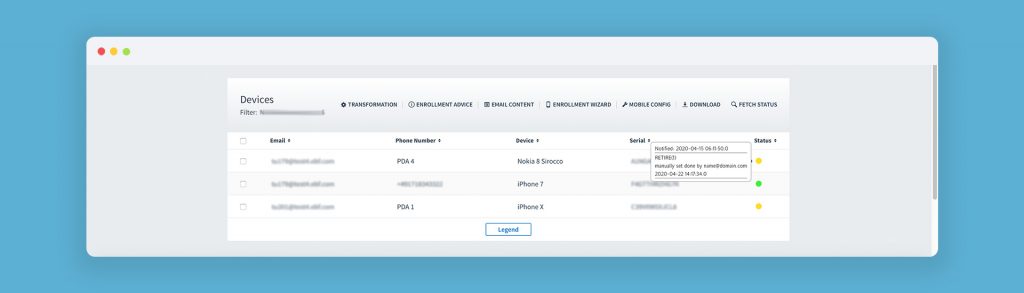
- Confirm that you want to mark the device(s) as done. You will see a confirmation of the process in a green box on the right side of the dashboard. The status of the device will change to green and the pop-up will provide the information that the device was ‘manually set done by <email of the admin>’, so that you know which admin took the decision:
11.1.2. Withdrawing a list of devices from all migration projects
You can remove a list of devices from all migration projects by marking them as ‘done’ with the help of a feature which is only accessible by a hidden command: XXDone
NOTE:
- Please prepare a CSV file including only the serial numbers of devices (one per line) which you need to mark as ‘done’ – without email addresses. In this way you can avoid getting more than one device marked as ‘done’ which can happen if you also include the users’ email addresses.
- If you include the users’ email addresses, make sure that each user has only one device in the whole instance. If a user has more than one device in the instance, all of his devices will be removed from the migration projects.
Follow these steps to use the hidden command:
- Go to the EBF Onboarder dashboard and enter: XXDone
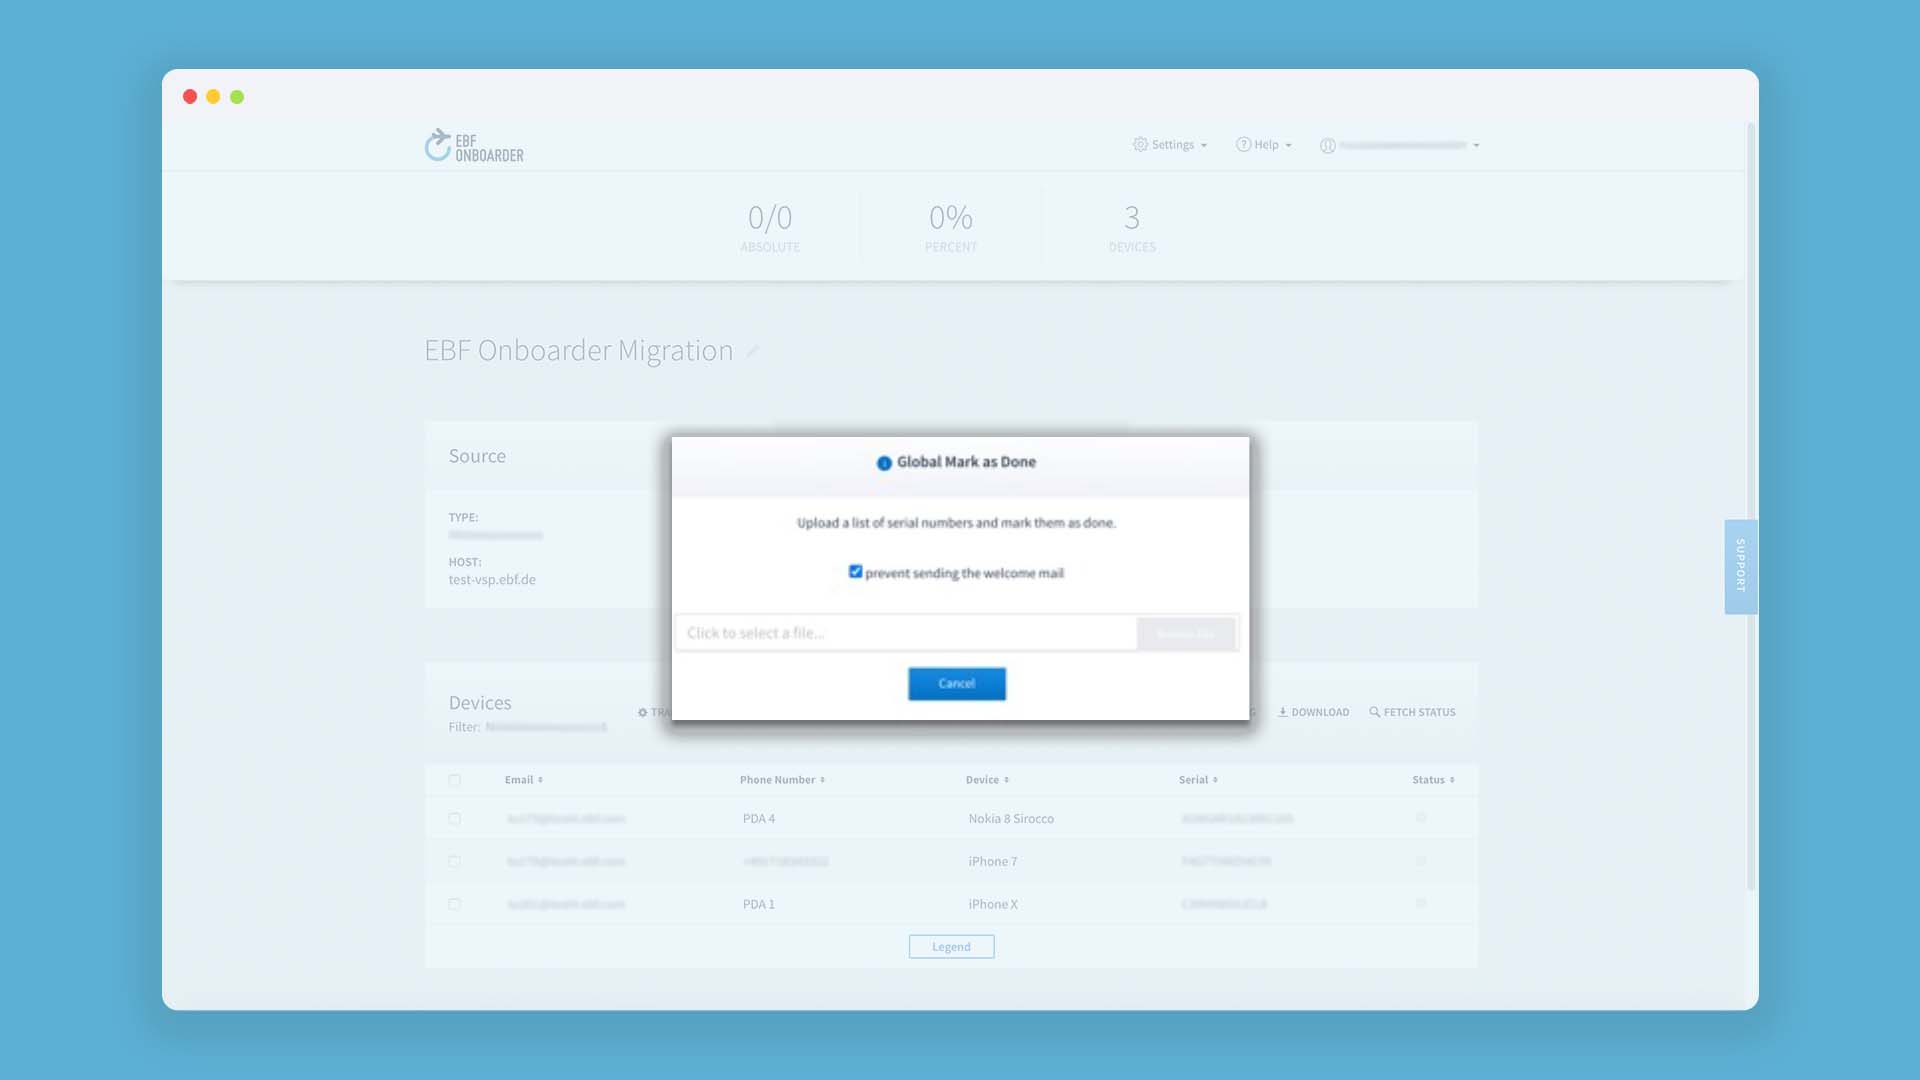
- Select the CSV file (comma separator and UTF 8 by default) in the popup. If you don’t want the users to get the welcome message, check ‘prevent sending the welcome mail’.
- Once you confirm the execution of the batch, the EBF Onboarder will mark these devices as ‘done’ – in all migration projects.
- You will see a pop-up with a status of the update. In the following example, the EBF Onboarder found 1 email address and marked 2 actions as ‘done’ (retire + send to App Store).
NOTE: If a serial number is not found, no device will be counted.
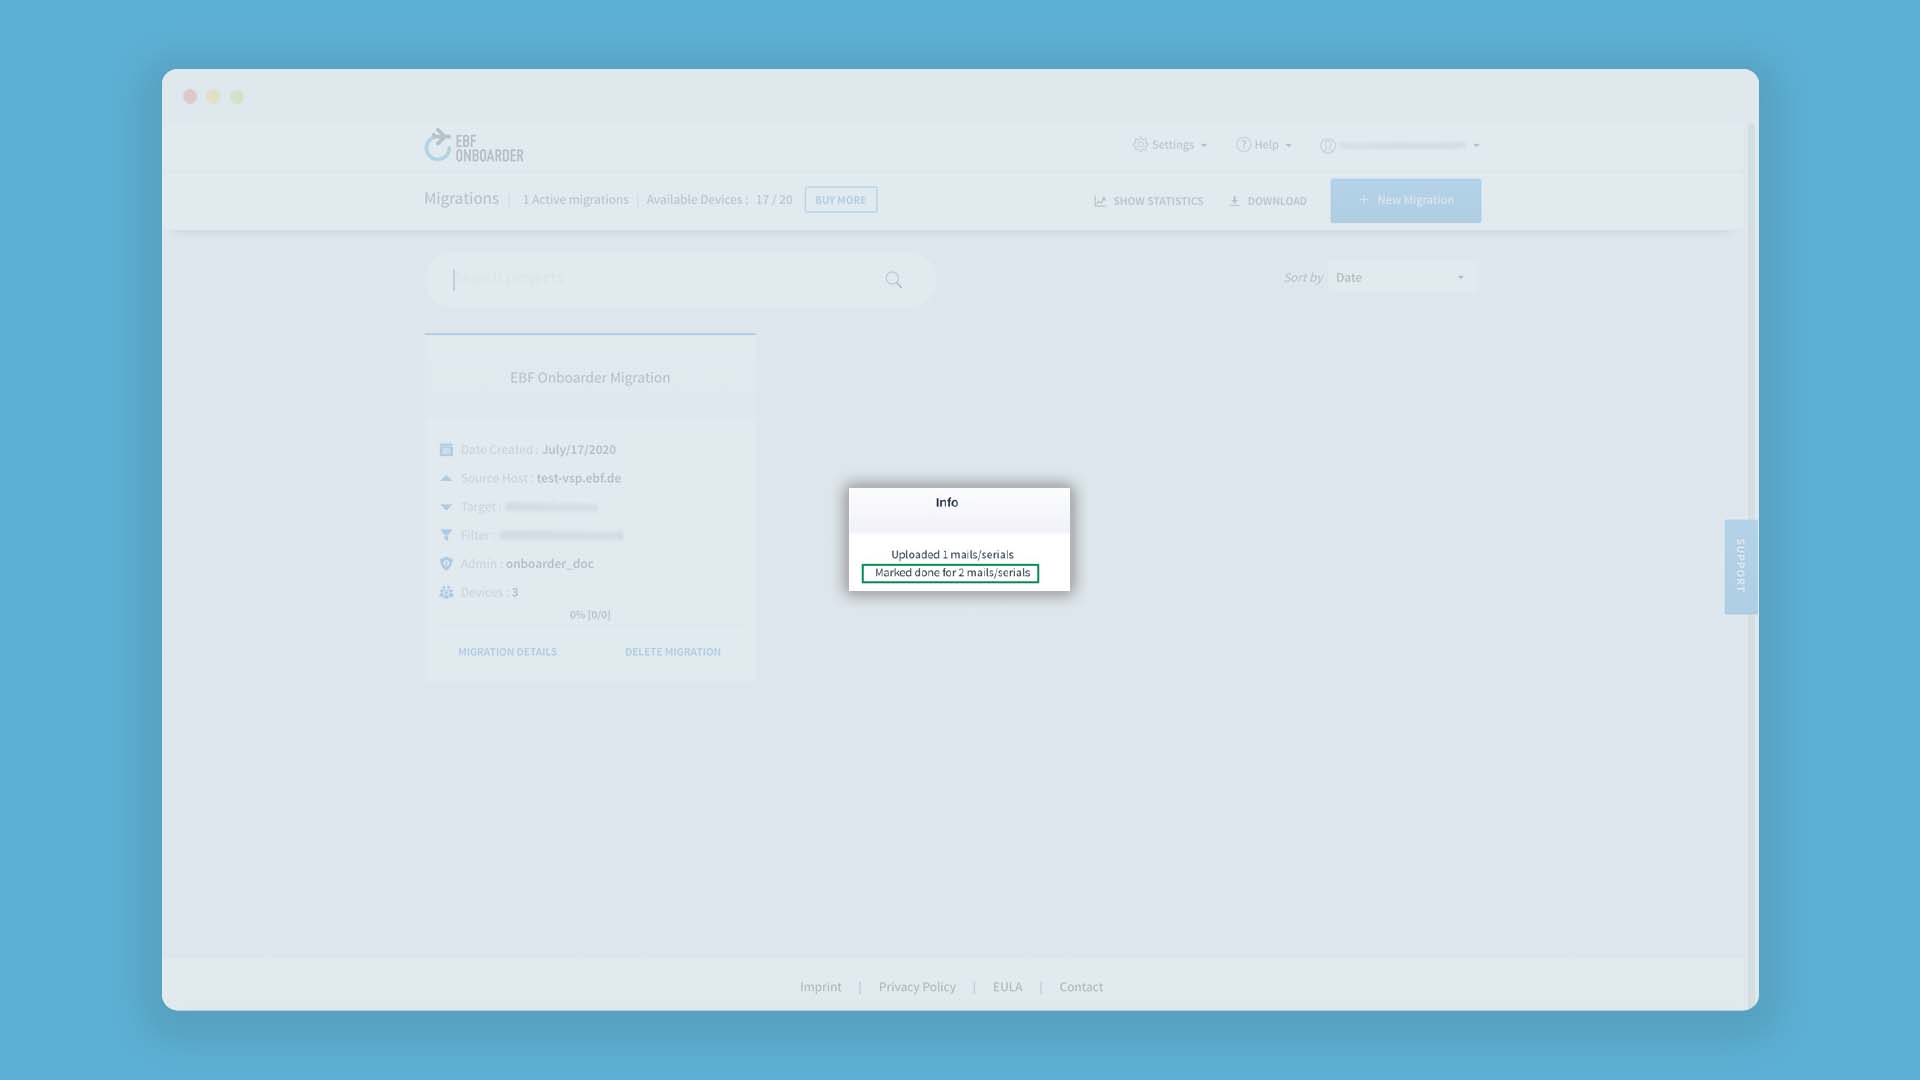
- The pop-up with the status of the device will then provide the information that the device has manually been marked as ‘done’ – including the administrator’s email address:

NOTE:
- The device must have been invited/activated (yellow circle) in order to have the possibility to mark it as ‘done’. A device which has not been notified/activated cannot be marked as ‘done’.
- If a device has completed the migration already and the migration has been confirmed, the EBF Onboarder won’t update the device and the status remains the same.
- If a device has completed the migration already, but the migration has not been confirmed, the device will be marked as ‘done’.
- You can mark single devices as Done in a single project by a right click on the device and select: Mark as Done.
11.2. Cleaning-up or deleting a migration project
To have a good overview of different migration projects, it can be useful to clean-up or delete a migration project. Both actions will completely stop the migration project.
ATTENTION: The devices of the project won’t be able to use the migration links which they have already received anymore and the EBF Onboarder will stop to send any further reminders. Please carefully read the following chapters before you clean-up or delete a migration project to fully understand the consequences of it.
- Cleaning-up a migration project means to deactivate the project – without completely deleting it.
- After cleaning-up the project, all information related to the project (e.g. information about the devices and about their status) will still be stored in an archive which can be accessed by you.
- This might make sense if a project is almost completed and there are only a few devices left which obviously will not migrate. EBF Onboarder will stop sending them unnecessary reminders. But if you need to investigate the project, you are still able to retrieve necessary information in the logs.
- Deleting a migration project means that the project is completely deleted.
- After deleting the project, the information related to the project (e.g. service account, hostnames, devices, actions of device migration) can’t be accessed anymore. The project will be removed from the dashboard and there is no way to restore a migration project which was deleted in this way.
- This might make sense if the migration project was for example only a test project.
NOTE: Licenses for devices which have not been notified yet will be credited to the total amount of your tenant’s licenses.
11.2.1. Cleaning up a migration project
Cleaning-up a migration project means to deactivate the project – without completely deleting it.
ATTENTION: Please carefully read chapter 11.2 before you clean-up a migration project to fully understand the consequences of it.
NOTE:
- If there are still a lot of devices in the project which need to migrate, we recommend that you set up a reminder (see chapter 05.2) to encourage the users to migrate their devices instead of cleaning-up the project. Otherwise you will lose the licenses that were reserved and consumed for them already.
- If you decided to clean-up a project, please take a screenshot of the number of pending devices and the number of total devices in the project before you do that. This is helpful in case you need to discuss about the number of licenses with your EBF contact.
Follow these steps to clean-up a migration project:
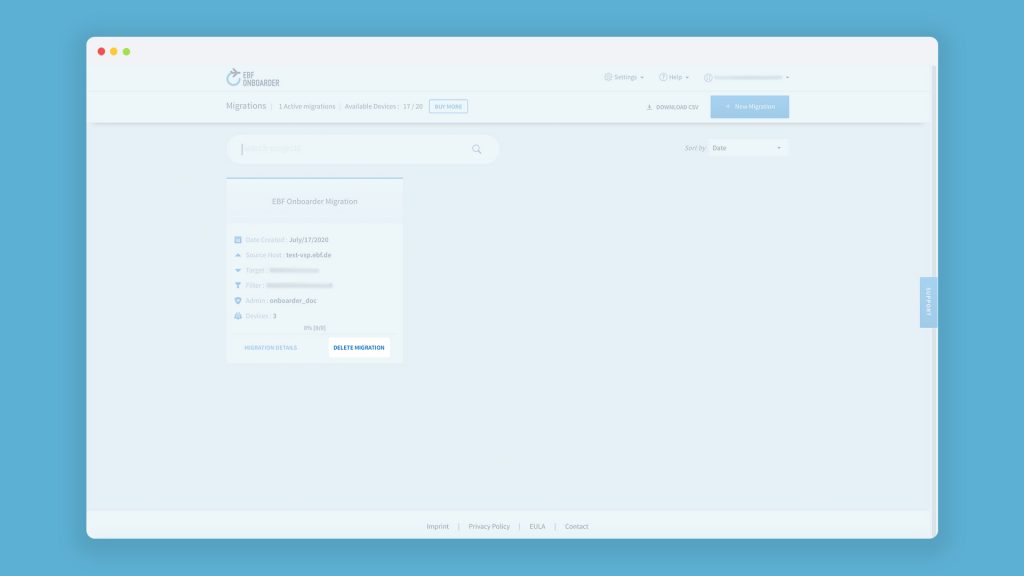
- Before you start to clean-up a project, you can take a look at the summary on the EBF Onboarder dashboard. It includes the number of active migration projects, used and total licenses (‘Available Devices’):

If you take a look at the Migration Project dashboard, you will see a list of all devices – including devices with the status ‘Not Notified’ and ‘Pending’ (see chapter 10.2.1). Devices with the status ‘Not Notified’ and ‘Pending’ will be removed from the project once you clean it up. - Click on ‘Delete Migration’ for the migration project you want to clean-up:
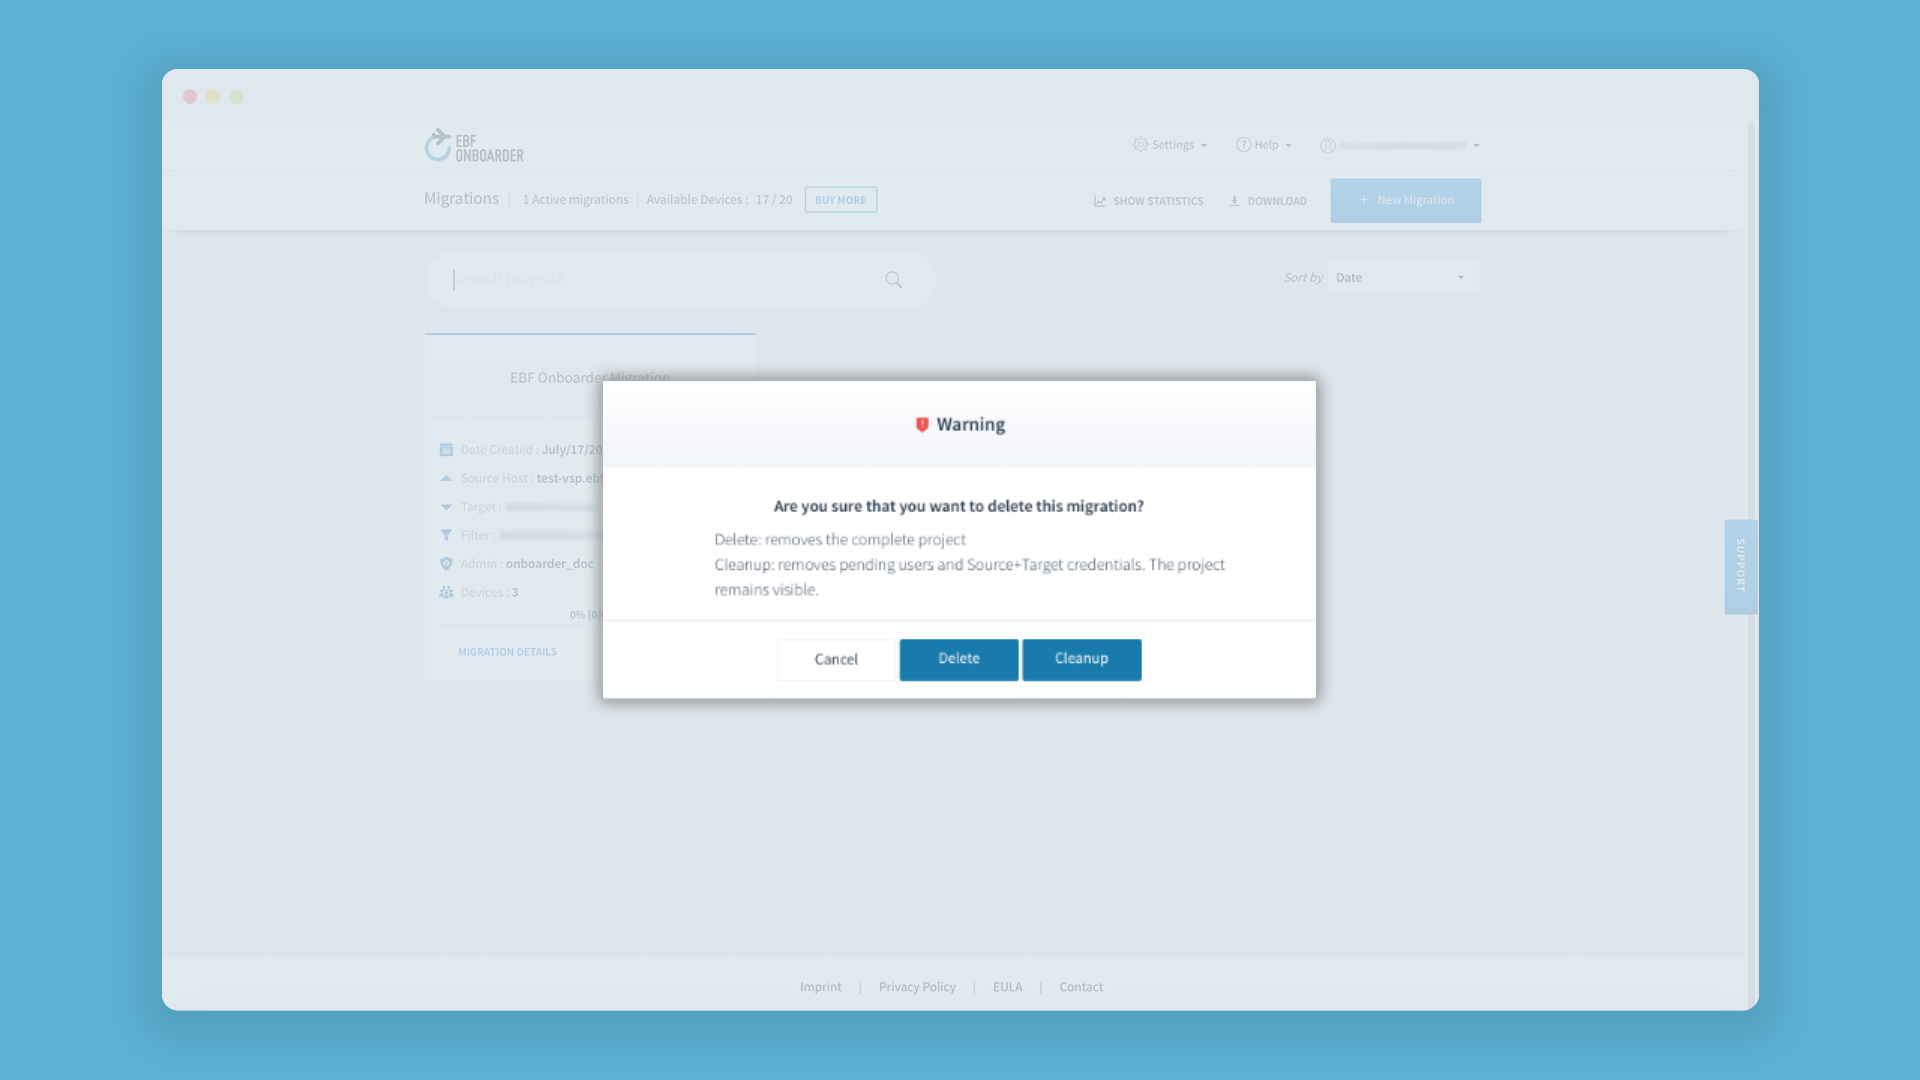
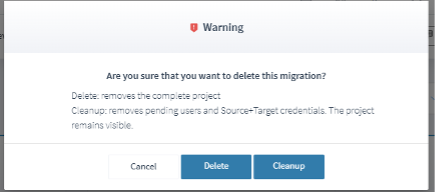
- Click on ‘Clean-up’ – don’t click on ‘Delete’:
- Devices with the status ‘Not Notified’ and ‘Pending’ have now been removed from the project. The number of devices with the status ‘Not Notified’ has been credited to the total amount of your tenant’s licenses. The migration project is still available on the dashboard, but it is an archive.
11.2.2. Deleting a migration project
Deleting a migration project means that the project is completely deleted and that all information related to the project can’t be accessed anymore.
ATTENTION: Please carefully read chapter 11.2 before you delete a migration project to fully understand the consequences of it.
Follow these steps to delete a migration project:
- Before you delete a project, you can take a look at the summary on the EBF Onboarder dashboard. It includes the number of active migration projects and used and total licenses (‘Available Devices’):
If you take a look at the Migration Project dashboard, you will see a list of all devices – including devices with the status ‘Not Notified’ (see chapter 10.2.1). Devices with the status ‘Not Notified’ will be removed from the project once you clean it up. - Click on ‘Delete Migration’ for the migration project you want to delete:
- Click on ‘Delete’ if you are sure that you don’t need this migration project anymore:
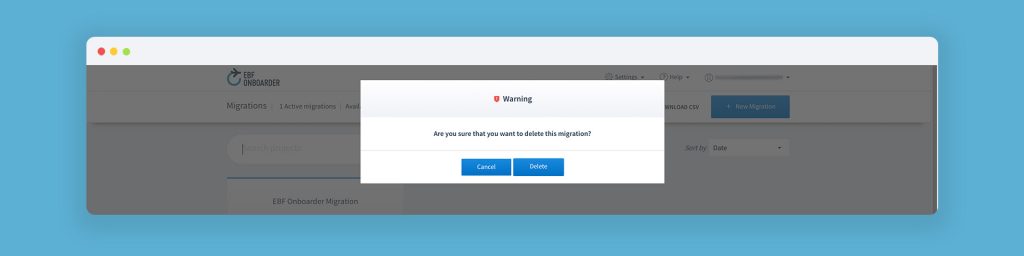
ATTENTION: Deleting a project is irreversible.
- The migration project is now totally removed from the tenant and not shown on the dashboard anymore. Devices with the status ‘Not Notified’ have been removed from the project and the number of devices with the status ‘Not Notified’ has been credited to the total amount of your tenant’s licenses.
11.3. Decommission of the tenant
After you complete the migration of all devices it is time to clean up the tenant.
You should consider these steps as well for data privacy reasons because the user and MDM/UEM data is no longer required on our systems.
Pease follow these steps:
- Reports / Logs:
You should download the reports to keep them for a reference:Click the Download button and click all three files to download them:
• export summary as csv file: Detailed information about the devices
• export details of all projects: Details about the projects
• Audit logs: The Audit logs - Clear Categories
Before deleting all projects, you should also delete the categories:
Open any project from the dashboard and click on the edit button of the project name.
Press the trash can next to each category and confirm. Press ‘Save’ after deleting all categories. - Projects:
From the Dashboard press ‘Delete Migration’ for each project and confirm by pressing “Delete”.
Only this will also anonymize all the user data and remove the MDMD/UEM connection data from the EBF Onboarder database.
NOTE: Deleting a project invalids the migrations links for this project.
The next steps are clearing the tenant settings and removing the manually created admins.
- Clear the Tenant Settings:
To clear the tenant settings, go to Settings > Tenant Settings > General Settings and remove / clear the values added by you.
Perform the same steps with the tabs „Mail Settings, DKIM, SMS Settings, Report“,data from the single, select a language in the dropdown for ‘Enforce Language’ and save your changes.Note:
if you were in contact with EBF Support to configure DKIM or any mail settings, please inform EBF Support(from the Support tab in your tenant) - Remove the admins
Open ‘Settings’ >> ‘Tenant Settings’ and press ‘Remove’ below Actions and confirm.
You cannot delete the initial admin.
If you want to have your tenant to be disabled and the initial admin should no longer be able to login as well, please inform our support (from the Support tab in your tenant) to disable your tenant.