By default, the EBF Onboarder migration will start as soon as the user clicks on the start button or the link which was provided in the invitation email, notification or web clip.
The Enrollment Wizard is a tool which you can use optionally to optimize and customize the communication around your migration project. It can be used to provide users with individual introductory information on separate pages at the beginning of the actual migration process and thus complements the invitations and reminders which you send to your users.
This allows you:
- to explain the migration process in more detail,
- to provide important information that they need to take into account and which they have to confirm by selecting a checkbox which is necessary to proceed with the device migration (e.g. ‘Please confirm that you have read this page.’),
- to offer a possibility to cancel the process with the help of a dialog box. This might be necessary if the migration was started with the wrong device, if the migration conditions aren’t the best (low battery status) or if the user cannot access a documentation which he should follow.
07.1. Page setup
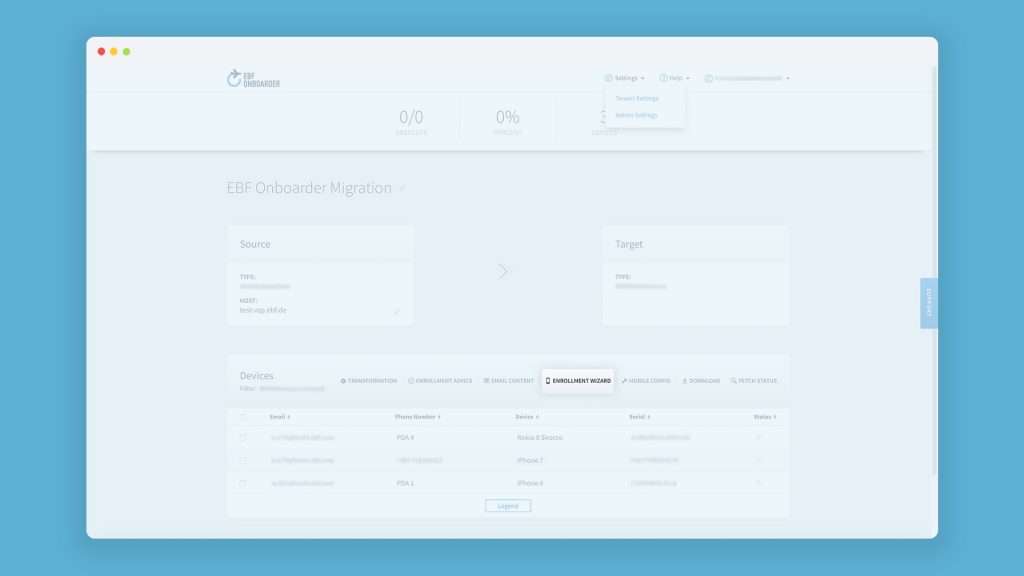
You can access the Enrollment Wizard via the button ‘Enrollment Wizard’ which can be found at the migration project dashboard of each migration project:
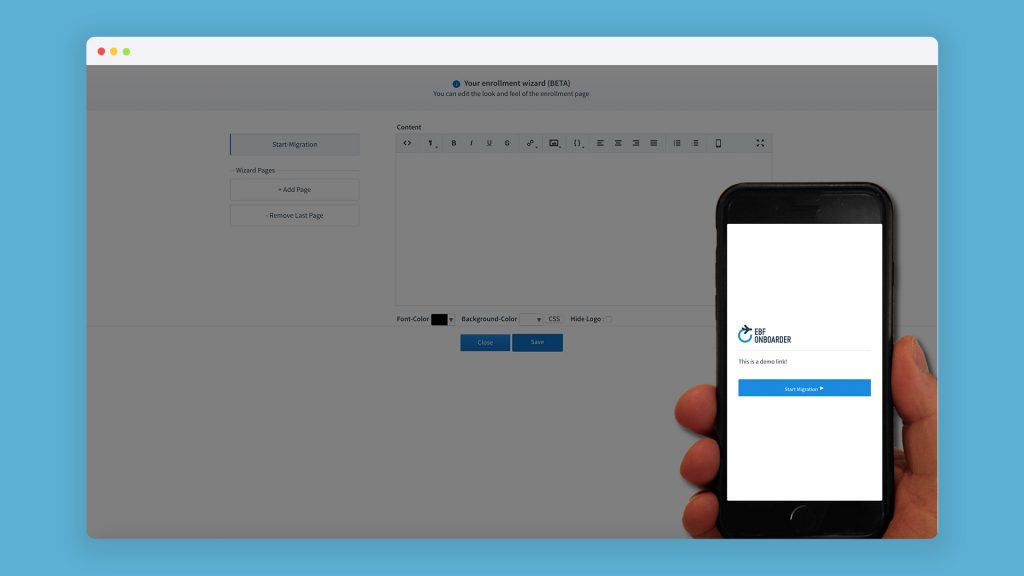
- Create your own page from scratch or choose one of the three templates which you can access by clicking on {}:

NOTE: When the template is loaded, you will remain on the ‘Start-Migration’ page. Click on ‘Page 1’ to visualize the template and to make changes on the first page.
- You can add a page by clicking on ‘+ Add page’ or remove a page by clicking ‘– Remove Last Page’.
- You can customize the content, font color and background color of each page by using the editor and the tools provided on top and at the bottom of it.
NOTE: If you use the template Wizard EBF or Wizard dark, you cannot change the background color.
- You can add a dialog box or check box to the pages:
- Add a check box by selecting ‘CheckBox’ and enter the text which should appear next to the box. If the user does not select the box, he won’t be able to access the next page of the Wizard.
- Add a dialog box by selecting ‘DialogBox’ and enter the text which should appear in the box.
- You can delete the EBF logo which is shown on the start page by default by selecting the box ‘Hide Logo’.
- Test your pages with the ‘Preview Tool’ (see chapter 07.2).
- Click on ‘Save’.
07.2. Page preview
After creating your pages, it is recommended to take a look at those pages and to check if everything is displayed correctly. You can do that with the help of a Preview Tool which presents how the pages will look like on a mobile device. Once you are satisfied with the result, you can test the process with a test device.
- Open the Enrollment Wizard.
- Click on the device icon for each page which you have created/changed:

- Check if the content, colors, boxes etc. are correct:
- Change the pages if necessary. If you change something, you can right away check whether the adjustments have led to the desired change.