Once you have configured all necessary settings (see chapter 03), you are ready to setup a migration project. The EBF Onboarder provides an easy-to-use interface for this.
This section will describe how to set up a migration project. During the setup you can select a source UEM system, a target UEM system and the devices from the source system which you want to include in the migration project.
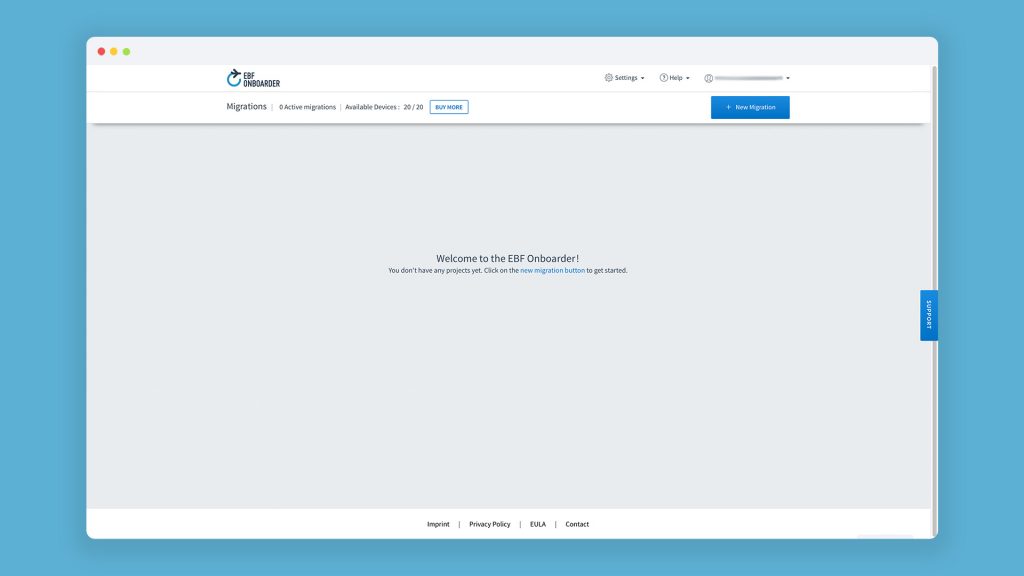
To create a new migration, click on the button ‘+ New Migration’ at the top right of the dashboard:
NOTE:
- Most UEM environments have restrictions on incoming connections (IP filters, firewall). Please check with your target system administrator that the needed ports are open and that the IP of the EBF Onboarder is whitelisted (see chapter 03.2).
- We recommend that you split the devices to be migrated into several projects and perform the migration in phases (so-called “waves”). You should start with a small test group and after successful testing, you should proceed with the other phases one by one. The recommended number of devices per wave is 500. The smaller the groups, the better you can organize and monitor your migration. This should also avoid issues with older and slower systems. Please also note: While a wave with 1000 devices is usually fine for the EBF Onboarder, a lot of UEM systems will face issues with migrations as soon as they reach a count of 1000 devices per API request. Therefore, we would give the recommendation to split up the migration projects so that you will be able to have an acceptable performance for your device migrations.
- The migration will not start when you save the migration project. After saving the project, you can first set up an Information message, an Invitation, Reminders and a Welcome message (see chapter 05) which will be sent to the selected devices to initiate the migration process and to remind the users of the migration if necessary. Please read chapter 08 to get to know how to launch your devices’ migration.
- In rare cases the browser shows a strange behavior when using the Migration Setup Wizard. Please clear the cache of the browser, restart the Migration Setup or use the browsers incognito mode.
04.1. Project naming and categorization
04.1.1. Project name
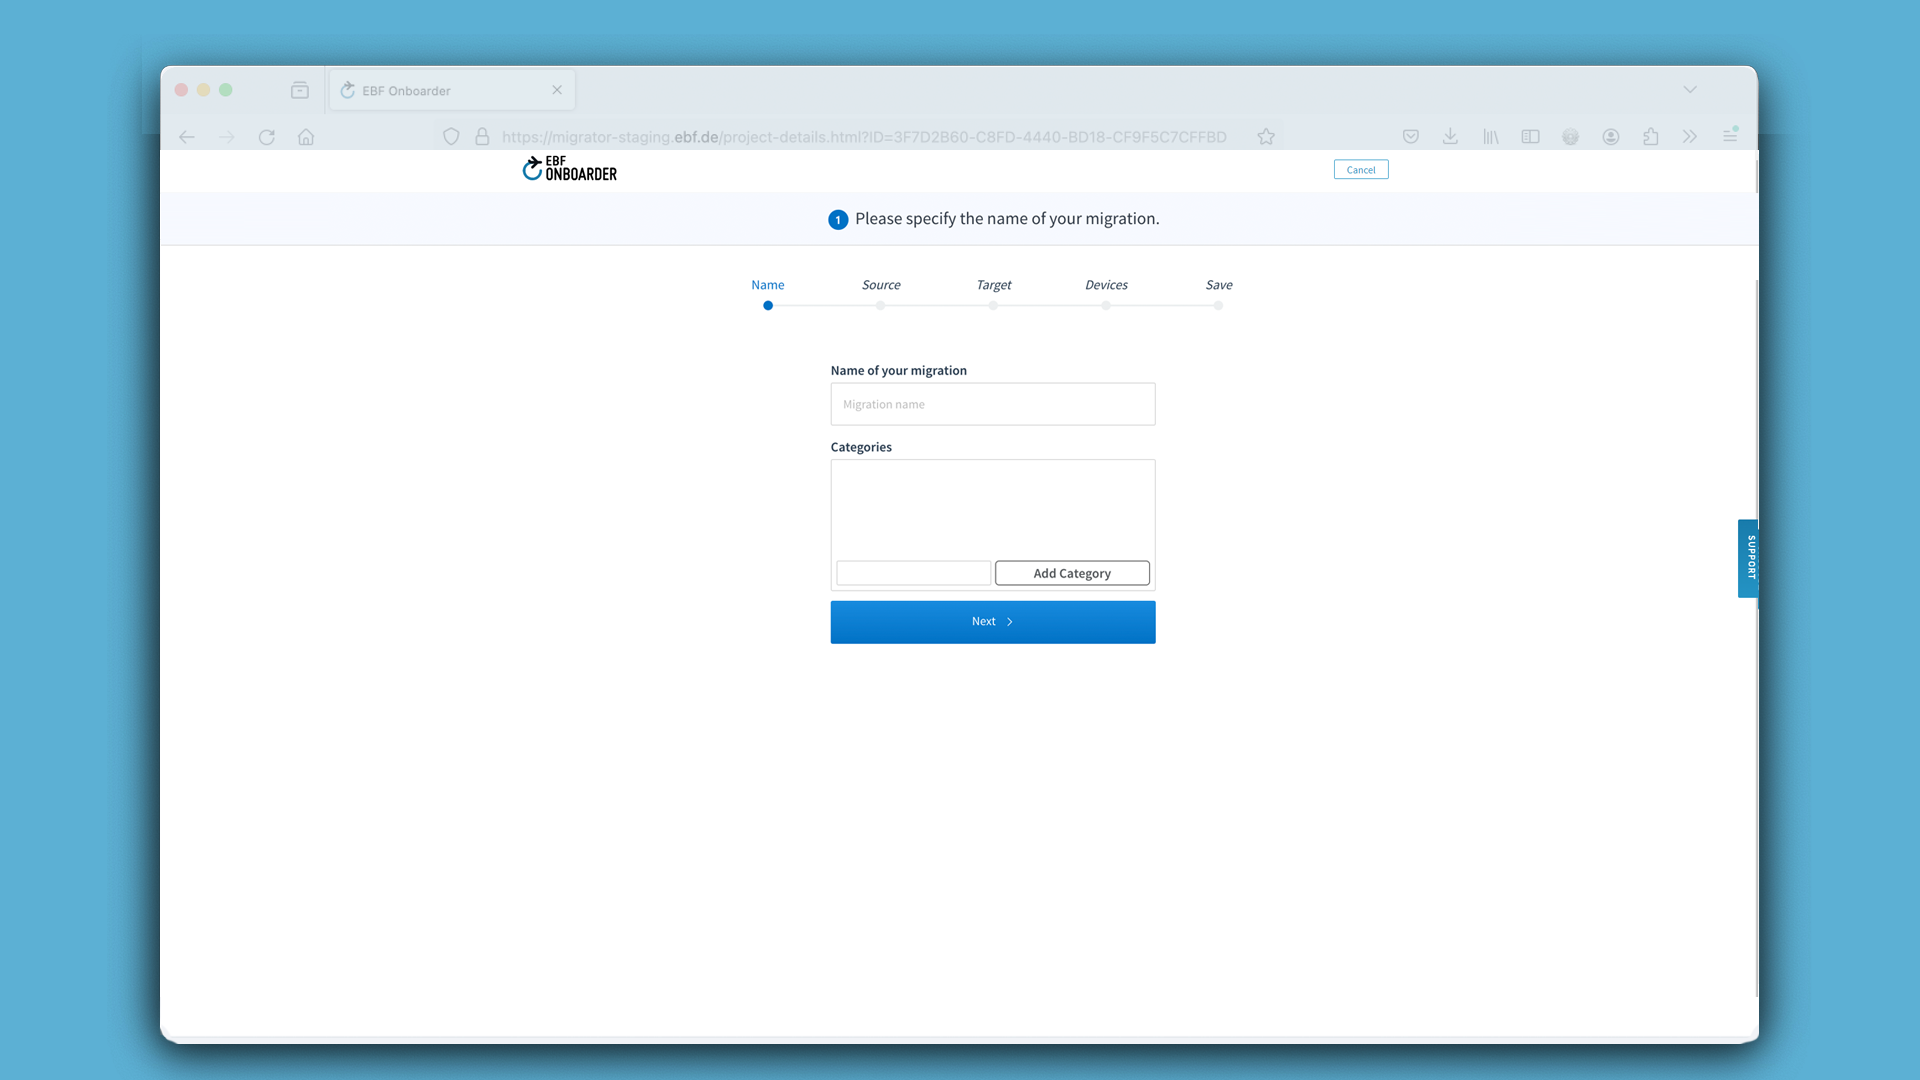
Enter a name for your migration project:

NOTE:
- If you do not enter a name, an automated name will be created: Migration from to <Source Type> to <Target Type>
- For large migrations we recommend to use project names with a proper naming structure for a better overview – like Pilot1, Pilot2, Batch1, Batch2, VIP, DepartmentXY, Date of migration etc. It’s important that you use what best fits your project planning.
04.1.2. Project categories
You can add different categories to your projects. This will allow you to filter your projects on the EBF Onboarder dashboard and to view filtered statistics. If a project was added to a category, but it was deleted in the meanwhile, it will be integrated in the statistics.
Create a new category
While creating a new project, you can add a new category to the project or add an existing category to it.
To create a new category, add a category name to the field and click on ‘Add Category’. The new category will be added to the category list with the addition ‘(0)’, as no project was applied to it yet. The category is already selected. If you continue and complete the setup, the new project will be added to this category.
To add an existing category to the project, select if from the list and continue.
Change, delete or add a category
If you want to change or delete the category of a project or add a category to an existing project which has no category yet, go to the EBF Onboarder dashboard, click on ‘Migration Details’ to access the migration project dashboard and click on the pen next to project title.
- To change the category, deselect the current one and choose a new one.
- To delete a category, click on the trash next to the category name and confirm this step. If you confirm, the category will be deleted and removed from all the other projects without asking again.
- To add a category, add a name to the field and click on ‘Add Category’.
Then click on ‘Save’.
04.2. Source system selection
Select the source system you want to migrate from:

NOTE:
- Depending on your source system there are specific prerequisites for the Service Account that you need to use in the migration project configuration. Please read chapter 1.1 to make sure that you have made all necessary settings.
- If you tested the migration and everything is working fine, we recommend to not further update the source UEM. Otherwise we cannot guarantee that there will be no issue as there might also be changes on the API calls.
ATTENTION for Ivanti (MobileIron), Jamf Pro/School, Maas360, Microsoft Intune and VMware Workspace ONE as a target system: Please read the separate documentation in addition to this one to learn more about the necessary settings. You can find them here. When entering the source server name for ‘Host’, you must provide the server name without any further string or suffix like https:// or /API.
04.3. Target system selection
Select the target system you want to migrate to:
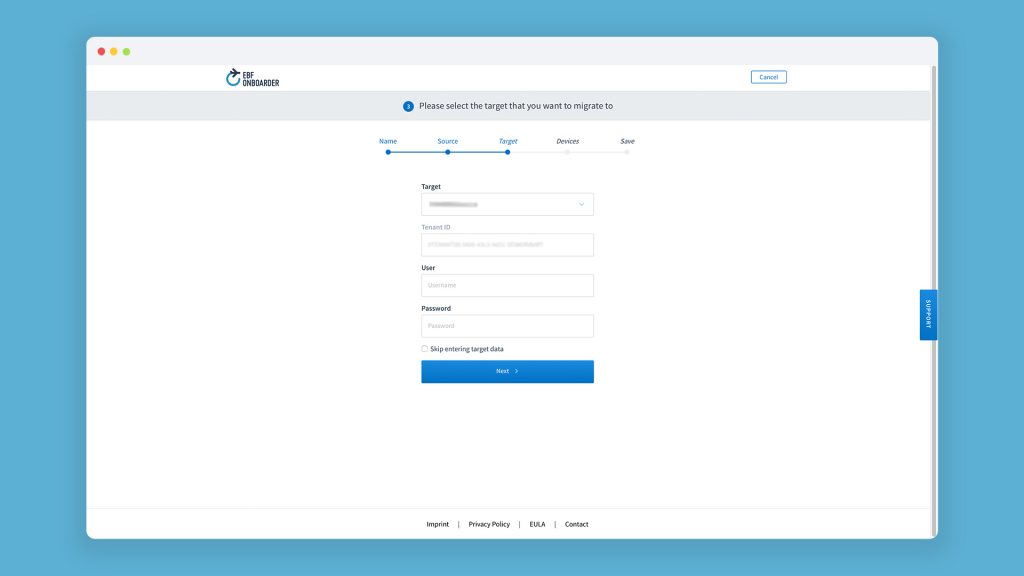
NOTE: Depending on your target system there are specific prerequisites for the Service Account that you need to use in the migration project configuration. Please read chapter 03.1.2 (or below) to make sure that you have made all necessary settings.
ATTENTION for Ivanti (MobileIron), Jamf Pro/School, Maas360, Microsoft Intune and VMware Workspace ONE as a target system: Please read the separate documentation in addition to this one to learn more about the necessary settings. You can find them here. When entering the target server name for ‘Host’, you must provide the server name without any further string or suffix like https:// or /API.
04.3.1. Enrollment Program device migration
You can also select ‘Managed Enrollment’ to perform a migration for devices which belong to Apple DEP, Android Zero-Touch Enrollment or Samsung Knox Mobile Enrollment. They can be wiped by the EBF Onboarder, but they have to be enrolled with the specific programs:

ATTENTION: Usually the devices will be reset to factory settings when the user starts the migration and all custom data will get lost on that device. For Apple DEP devices, there is a way to avoid this (see chapter 04.3.2).
NOTE: You are also able to enable the wipe of devices in the project setup. This is recommended. Please check chapter 3.3.5 how to enable this feature.
04.3.2. Apple DEP device migration
The EBF Onboarder can migrate Apple DEP devices without resetting them to factory settings and without losing all custom data on that device. Instead, the devices are only retired, with all company data and applications which have been managed through the source UEM system being deleted from the device. But the status ‘Supervised’ which provides comprehensive management functions remains and the UEM system will have full functionality afterwards. Company data and applications can be pushed to the device through the target system.
ATTENTION:
- Once a device is retired, it will lose the DEP flag and will only keep the ‘Supervised’ flag. As a consequence, the user has the possibility to delete the MDM profile from the device which is normally not possible with a DEP device. It is possible to a certain extend to monitor if a user deletes the MDM profile, but if you don’t want your users to have the possibility to delete the MDM profile, you should proceed with a full reset of your device and re-enroll it in your target UEM system via DEP (see chapter 3.1). In this case all custom data on the device will get lost during the DEP re-enrollment.
- In iOS 17.3 Apple has introduced the Stolen Device Protection (https://support.apple.com/en-us/HT212510) feature. If this feature is enabled and the device is not at a familiar location, the MDM enrollment is not possible as the change will be blocked by one hour. The feature needs to be enabled manually by the user on the device. We recommend disabling this feature at least one hour before starting the migration. Currently only the Device Enrollment Program will not block the MDM installation for one hour.
04.3.3. Android Enterprise device migration
The EBF Onboarder can migrate Android Enterprise devices. In the process, it is possible to switch to another Android operating model at the same time (Device Admin, BYOD, COPE, COBO, COSU).
The following table shows what is possible, which target system must be selected in step 3 of the migration process (target system selection), what the migration steps look like and if a device wipe is required.
| Android source | Android target | Migration target | Migration steps | Device wipe |
| Device Admin (Legacy) | Device Admin (Legacy) | Your target UEM system | See variant 2 below | No |
| Device Admin (Legacy) | BYOD | Your target UEM system | See variant 2 below
|
No |
| Device Admin (Legacy) | COPE/COBO | Managed Enrollment | See variant 1 below
|
Yes |
| BYOD | BYOD | Your target UEM system | See variant 3 below | No |
| BYOD | COPE/COBO | Managed Enrollment | See variant 1 below | Yes |
| COPE | COPE/COBO | Managed Enrollment | See variant 1 below | Yes |
| COPE | BYOD | Managed Enrollment | See variant 3 below
|
Yes |
| COBO | COBO/COPE | Managed Enrollment | See variant 1 below | Yes |
| COSU | COSU/COBO/COPE | Managed Enrollment | See variant 4 below
|
Yes |
Device Admin (Legacy): Personal and corporate-owned devices with device administrator privileges
COSU: Corporate-Owned Single-Use, kiosk devices
COBO: Corporate Owned, Business Only, fully-managed devices
COPE: Corporate Owned, Personally Enabled, devices with work profile
BYOD: Bring Your Own Device, user-owned devices with work profile
Migration steps
Migration steps – Variant 1
- An invitation email with the migration link is sent to the users.
- Users need to press the start button in the invitation email.
- The device is wiped (factory reset).
- The device reboots and the welcome screen is shown.
- A setup type must be chosen (see Setup Methods below).
Migration steps – Variant 2
- An invitation email with the migration link is sent to the users. The link can be sent in different formats:
- {urlGo} (requires access to the mailbox to receive the additional email with the PIN)
- {qr} QR code (requires a second device or a printout to receive the QR code)
- {urlIreg} (Only if Microsoft Intune is the source or target system. Please read the separate documentation to learn more about this. You can find it here.)
- Users need to open the invitation link in the personal profile.
- Users need to enter email address and PIN which is included in the email.
Migration steps – Variant 3
- An invitation email with the migration link is sent to the users. The link can be sent in different formats:
- {urlGo} (requires access to the mailbox to receive the additional email with the PIN)
- QR code (requires a second device or a printout to receive the QR code)
- {urlIreg}
Users need to open these migration links in the personal profile. If the /ireg link or /go link is used, they need to enter the email address and PIN (for urlGo) which is included in a second email.
- The work profile is removed. Users will be forwarded to the Play Store. In some cases they need to manually search the old Management App in the Play Store to be able to delete it, but this should no longer happen.
- Users need to install the MDM app from the new MDM and register.
Migration steps – Variant 4
- A web app with the migration link is provided to the users to the device with the source MDM.
- Users need to activate the migration by marking the device as notified. Currently it is required to perform this for every single device.
- Users need to open the web app and press ‘Start’.
- The device is wiped (factory reset).
- The device reboots and the Welcome screen is shown.
- A setup type must be chosen (see Setup Methods below).
Setup methods
There are different setup methods an admin can choose which are described in the tables below.
| Initiate setup via AFW#Token | |
| Process |
|
| Supported Android devices | Devices with Android Marshmallow 6.0 or higher |
| Supported management groups |
|
| Transfer setup details via QR code | |
| Process |
|
| Supported Android devices | New device or a device reset to factory settings with Android 7.0 or higher with a QR code reader |
| Supported management groups |
|
| Transfer setup details via NFC | |
| Process | Hold a new device or a device reset to factory settings to an NFC tag that contains setup details provided by the MDM provider. The NFC tag can include details such as Wi-Fi Login details, language, time zone and custom disclaimers. |
| Supported Android devices | Devices with Android 6.0 or higher with NFC capabilities, from Android 10 and up no longer available |
| Supported management groups |
|
| Pre-configured devices with contactless enrollment (Zero Touch) | |
| Process | Zero Touch enrollment allows you to pre-configure Android devices purchased from a Zero Touch reseller. Devices pre-registered for Zero Touch enrollment can be shipped to users directly. On first boot, registered Zero Touch devices check for an assigned company configuration and set themselves up automatically. Users can follow the on-screen instructions to complete the setup.
Only for Samsung devices running Android 9.0 or 10:
|
| Supported Android devices | Devices with Android 9.0 or higher (initially via selected resellers only), compatible devices with Android 8.0 or higher, Pixel phones with Android 7.0 purchased from a Zero Touch reseller (https://androidenterprisepartners.withgoogle.com/resellers/) |
| Supported management groups |
|
| Pre-configured devices with contactless enrollment (Knox Mobile Enrollment) | |
| Process | The Knox Mobile Enrollment allows you to pre-configure Android devices purchased from a reseller with a KME enrollment. Devices pre-registered for KME enrollment can be shipped to users directly. On first boot, devices enrolled in Knox Mobile Enrollment check for an assigned company configuration and the devices are automatically provisioned. Users can follow the on-screen instructions to complete the setup.
|
| Supported Android devices | Samsung devices with Knox 2.4 or higher for Android enrollment and Knox 2.8 or higher for Android Enterprise enrollment |
| Supported management groups |
|
04.3.4. Windows desktop migration
The EBF Onboarder can migrate Windows desktop devices. When registering a desktop device, users typically need to install the client app of the target MDM system (for example the Intune Comp Portal or the Workspace ONE Intelligent Hub), type in a server name, account name and a password. Windows supports a much easier way to register devices in the target MDM system: deep links.
Deep links forward the user directly to Windows settings and the Work/School Management Registration. The userid and the MDM server can be prefilled so that users just need to enter their password to start the registration.
The EBF Onboarder can handle deep links for Windows desktop migrations. In the following chapters you will learn how to create and use them.
ATTENTION: Normal device users are not allowed to register a device in a new MDM system (https://learn.microsoft.com/en-us/troubleshoot/mem/intune/device-enrollment/no-permission-to-enroll-windows-devices?source=recommendations). Thus, a workaround is required here. In addition to that, there are also some other specifics for Windows devices. Please contact us at sales@ebf.com for more information.
Deep link configuration
There are two ways to configure a deep link:
Variant 1:
You can do that during the target system selection: Windows Enrollment (optional).

Variant 2:
You can edit the deep link after creating the migration project in the migration project dashboard:
- Go to the EBF Onboarder dashboard and click on ‘Migration Details’ to access the migration project dashboard.
- Click on ‘Windows Enrollment’.
- Edit the value for “ms-device-enrollment:?”.

- The blue info button will bring you to the Microsoft Website with information about the deep link.
- Enter the correct
- Click on ‘Save’.
Deep link creation
The deep link has the following format: ms-device-enrollment:?mode={mode_name}
Example: A deep link for the EBF Onboarder and the target system Microsoft Intune is: mode=mdm&username={userid}&servername=https://enrollment.manage.microsoft.com/enrollmentserver/discovery.svc
- In this link, the parameter ‘userid’ is a EBF Onboarder parameter and is not provided by Microsoft. It adds the userid of the device user to the deep link so that usersids are prefilled in the Work/School Registration screen.
- The parameter ‘servername’ is the enrollment link of your target MDM system.
- You can find more details about deep link parameters on the Microsoft website.
Deep link usage
Users basically need to perform the same steps as on other devices to use a deep link:
- They click on the ‘Start’ button in the invitation mail and follow the enrollment steps.
- They click on ‘Connect to new MDM’.
- The Windows Work/School Registration windows shows up and the user enter their password.
- The target MDM system will guide the users to the other required steps.
NOTE: The EBF Onboarder recognizes the operating system of the device. Thus, it is possible to setup migration projects with different operating systems. Each device will get the correct enrollment link. Nevertheless we recommend to create different migration projects for different operating systems to have a better overview of the migrations and to customize the information sent to users to each operating system. Additionally, users should not migrate their desktop and mobile device at the same time.
04.4. Device selection
Select the devices you want to migrate. This happens in two steps:
- Select a group of devices (see chapter 4.4.1)
- Make a final device selection (see chapter 4.4.2)
04.4.1. Group of devices
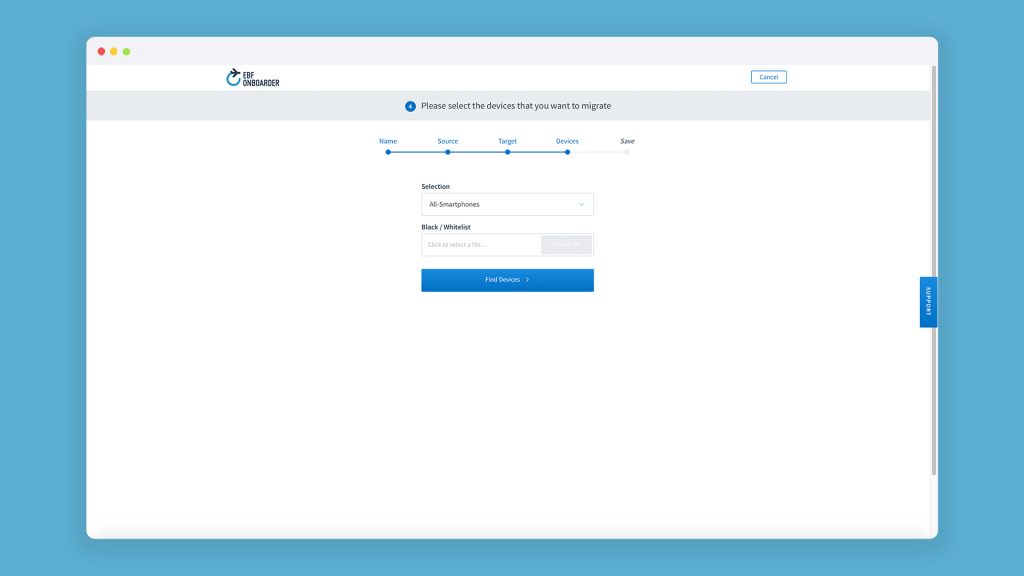
Select the group of devices to be migrated from your source system:
NOTE: The groups need to exist in your source system already. The maximum size per group is 6,000 devices.
Adding devices with a whitelist
You can use a whitelist in a CSV format to add only selected devices from a group to the migration project:
-
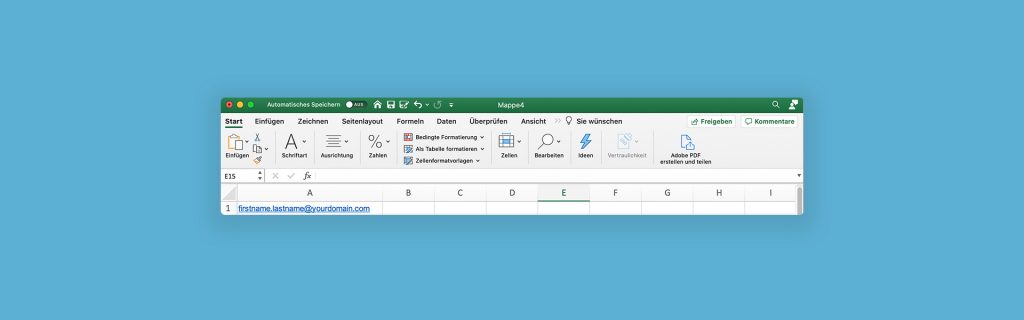
- Prepare a CSV file in Excel with a column for the user email address or device serial numbers, e.g.:
- Save the Excel file in the format CSV UTF-8 (comma-delimited).
- Select a group of devices.
- Upload the CSV file by clicking on the empty box under Black/Whitelist.
- Click on ‘Find Devices’. You will be notified about the number of devices which has been added to the migration project.
Removing devices with a blacklist
You can also use a blacklist in a CSV format to define devices which should be removed from the group of devices you have selected. You can do this, for example, if you know that these devices are obsolete (no need to migrate them) or if the user is a VIP person whose device will be migrated separately.
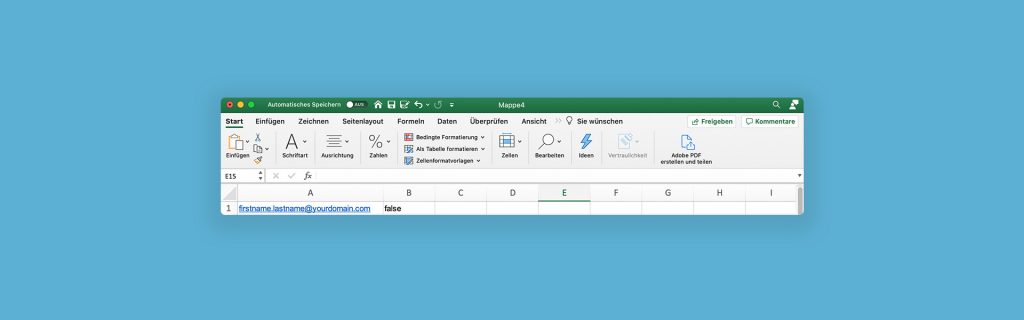
To do this, you can proceed in the same way as described in chapter 04.4.1.1. The only difference is the content of the CSV file. Here, you need to add a ‘false’ in a second row, e.g.:
When you upload the file, the devices associated with these email addresses will not appear in the final selection of devices (see chapter 04.4.2).
04.4.2. Final device list
After selecting the group of devices, a device list is populated. By default, all devices of your group are selected to be included in your migration project:

You can unselect devices by removing the checkmark in the row of the respective devices if they don’t need to be migrated for some reason (e.g. because the device is obsolete, is replaced by another device or is not supposed to migrate at that time).
During the project creation, you can request the EBF Onboarder to add the user to a group after the successful migration.
You can also select a group of devices by their operating system in the list ‘Target OS’. EBF Onboarder will then make a pre-selection of devices with a certain OS:

ATTENTION for Ivanti (MobileIron), Jamf Pro/School, Maas360, Microsoft Intune and VMware Workspace ONE as a target system: Please read the separate documentation in addition to this one to learn more about the possibility to choose to which group the devices should be added. You can find them here.
NOTE: In the device list you can find devices showing an icon illustrating a person. Devices with this symbol are private devices according to the source MDM. Devices without this symbol are company owned devices.
04.5. Project saving
Click on the ‘Save Migration’ button:
NOTE:
- The migration won’t start when you do that. It will only create a selection of devices (a ‘wave’) which you will come back to later.
- Once you click on ‘Save Migration’ you will be forwarded to the Email Content Tool which is used to set up an invitation email, reminders and a welcome email (see chapter 05). These messages are important to initiate the migration process and to remind the users of the migration if necessary.
04.6. Refreshing devices in a project
The EBF Onboarder adds devices from a selected group to the migration project at the time when the project is created and saved. If devices are added to the selected group on the source system afterwards, they are not integrated in the migration project automatically.
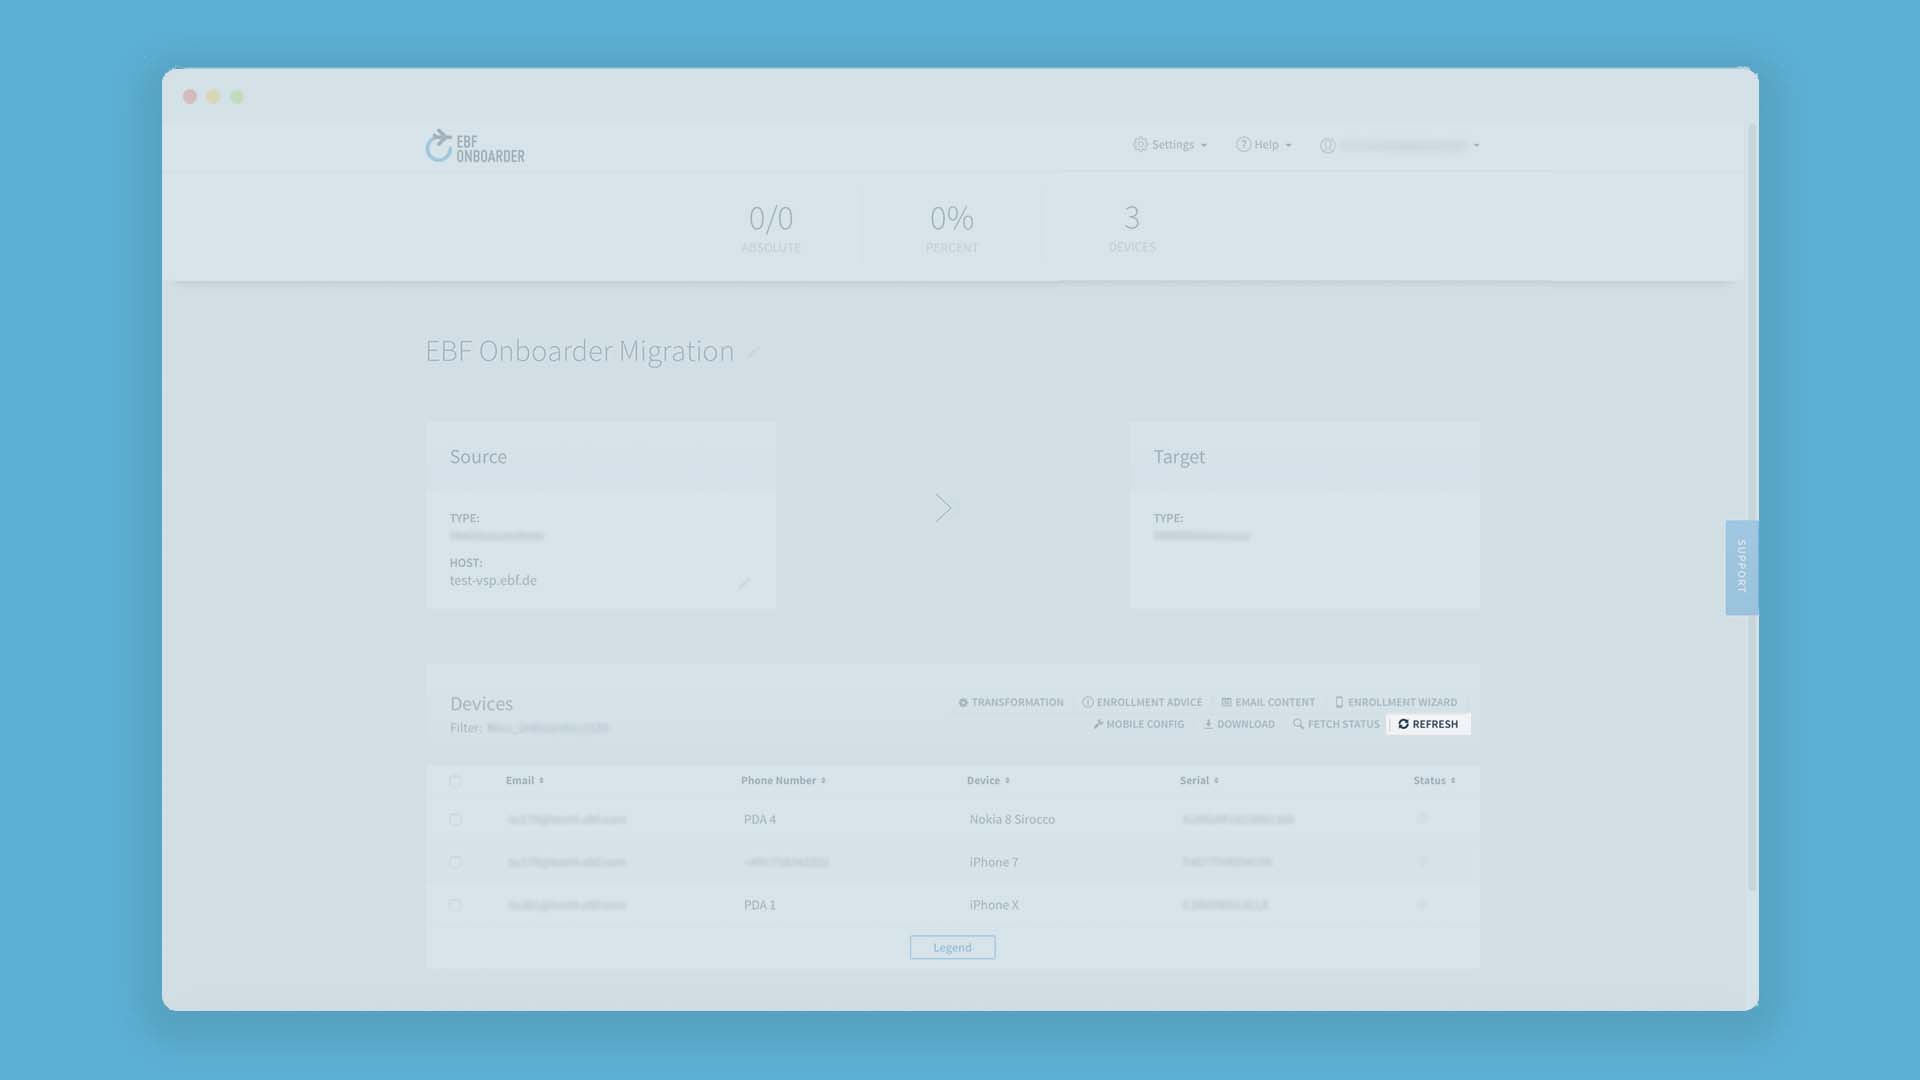
To retrieve new devices from the source system you can use the ‘Refresh’ feature. To do so, go to the EBF Onboarder dashboard and click on ‘Migration Details’ to access the migration project dashboard:
- Click on ‘Refresh’:
NOTE:
- If the ‘Refresh’ button is not available, the migration was created at a time when the feature was not implemented. Thus, you cannot update the device list. In this case you need to create a new migration project.
- This feature is available for the source systems BlackBerry UEM v12, Ivanti (MobileIron), Microsoft Intune and VMware Workspace ONE.
- The Refresh feature is not meant to be used for testing purposes, but for the production phase (or big pilot projects). If you always use the same device for testing purposes, this can lead to wrong results.
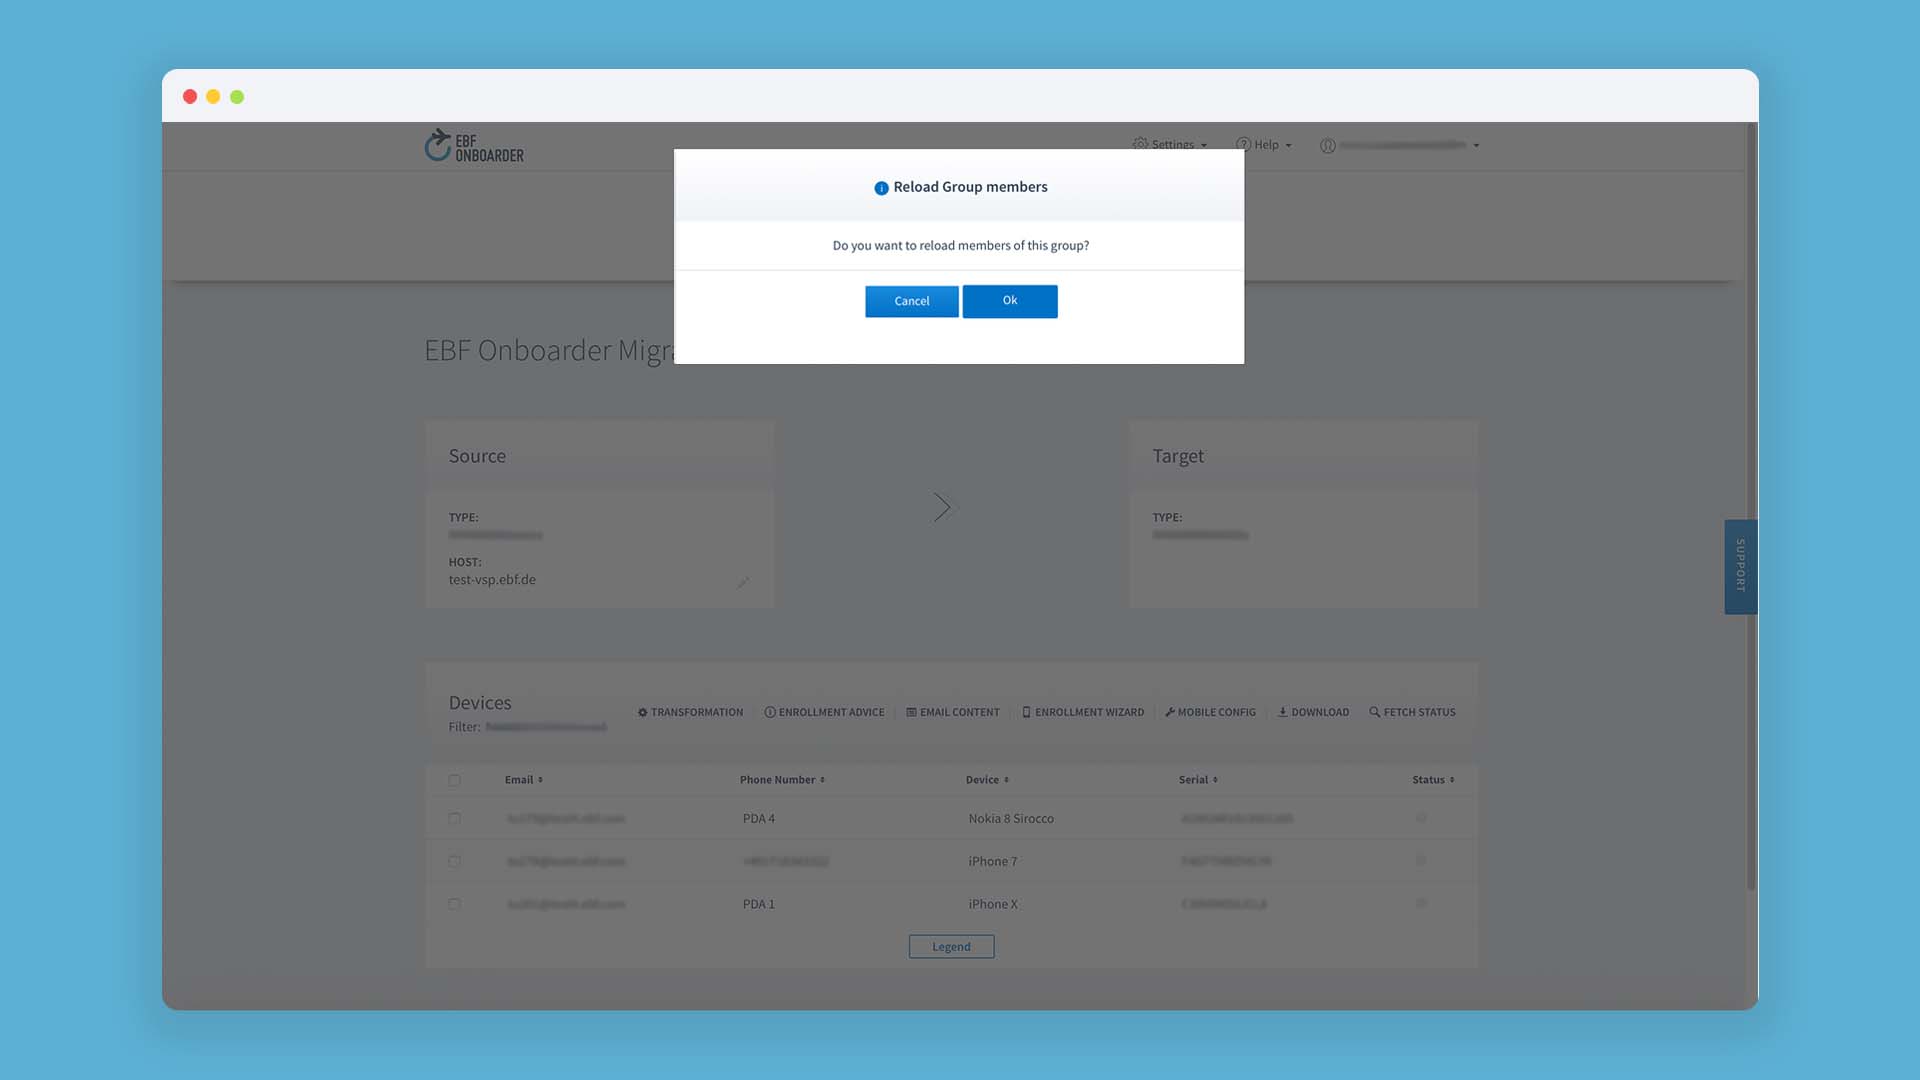
- Confirm that you want to reload members of the group:
- After confirmation you get back to step 4 of the initial project creation menu (see chapter 04.4) to refresh the devices from the same group that was used initially. Changing the group is not possible.
NOTE: Here you can also add new black and whitelists if required.
- Click on ‘Find Devices’.
- The EBF Onboarder will check the source group again and show all devices found. Click on ‘Save Migration’ to confirm the refresh.
NOTE:
- If a device was removed from the source group and no invite was sent, the device will be removed from the migration project.
- If a device was removed from the source group, but an invite was sent already, it will remain in the migration project. The status of these devices will remain the same.