The User needs to download the App from the App Store or Enterprise App Store.
04.1. Call Identification Extension and ContactProviderExtension (iOS / iPadOS only)
After launching the app for the first time, users will see a welcome message and then be able to define whether they can identify incoming calls or not (allow or disable call identification) – which is a very useful feature. If users disable call identification they won’t be able to receive any information on incoming calls. This setting can be changed later in the app settings.
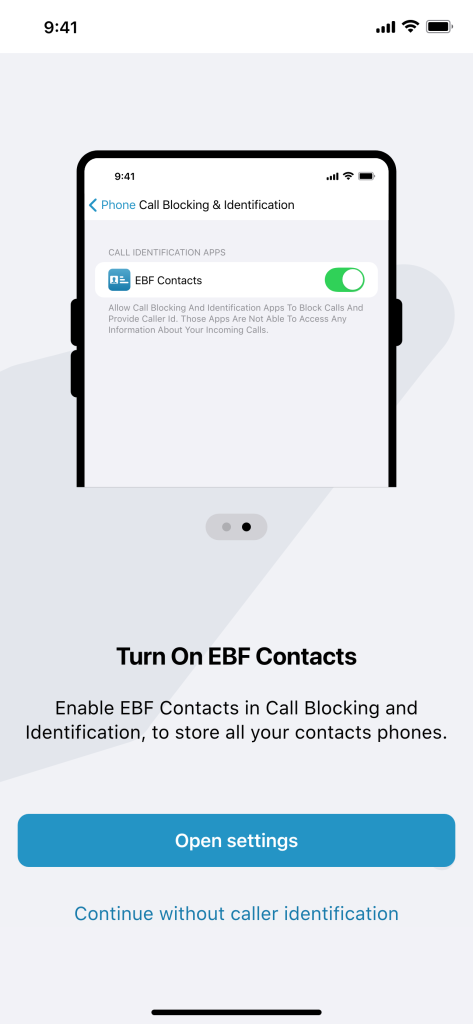
Also, when using the new ContactProviderExtension the App will ask the user to permit access to EBF Contacts data for the iOS Contacts app. Please confirm this to activate the extension. Data is stored secure and readonly. This extension will allow for using SIRI to start calls, identify SMS/iMessage senders and allow using contacts in Car play Contacts app.

04.2. Encryption
EBF Contacts will secure data with an encrypted password which the user defines when using the app for the first time. Depending on the device type the user will be able to use biometrics (Face ID/Touch ID).
IMPORTANT:
- There is no way to change/recover the password!
- The encryption is only for security purposes on your device.
- Since EBF Contacts is a read-only application, there is no data loss.
- The encryption password can be deactivated via configuration by an Administrator. Contact data will still be encrypted though.

04.3. Login
04.3.1. Cloud Application (Exchange O365 / Azure)
EBF Contacts will show the authentication screen provided by Microsoft Azure. Users are able to login with their Azure credentials. The Administrator can choose to use O365 anonymous authentication with EBF Contacts to skip this step for the user.
Please make sure to provide the needed permissions on definition of the Application ID.

04.3.2. Exchange On-Premise 2016 and above
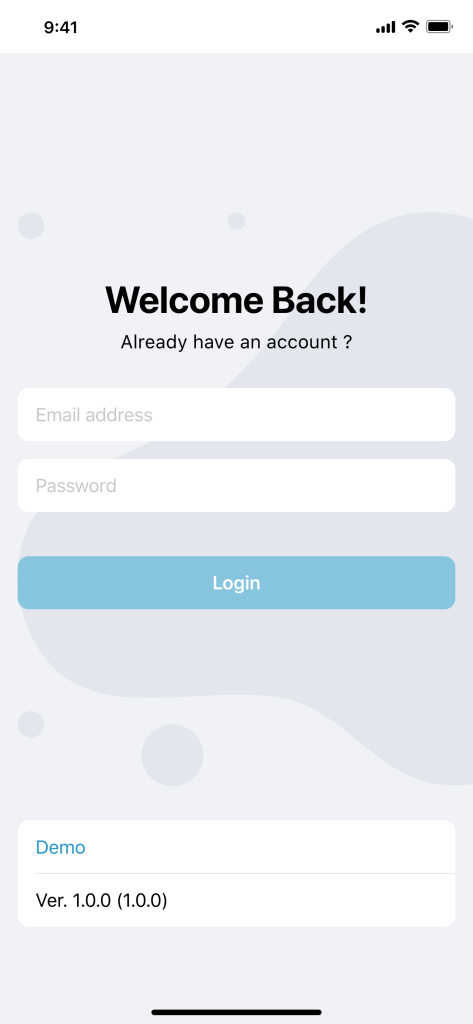
EBF Contacts will show a login screen. Users are able to log in with their credentials and authenticate with the On-Premise Server.
04.4. Main contact page
On the EBF Contacts main page users can see:
- Search bar
- Profile images (if activated)
- Full name of contacts
- Job title according to Exchange

04.4.1. Search
The main page offers the possibility to search contacts by:
- Display name
- First name
- Surname
- Email address
- Phone number

04.4.2. Advanced Search
By clicking on “Advanced Search” at the main page, users are able to make custom searches with given criteria like:
- Job title
- Location
- Department

04.5. Settings page
The Settings page contains useful information. The user can customize some of the settings depending on the administrator’s predefinitions.
General:
- Registered for: Company name
- Endpoint: Exchange URL (On-Premise) or Exchange O365 (Cloud)
- Logged in: Connection status
- Face ID/Touch ID: Users can activate or deactivate biometrics to login (depending on the device type)
- Call Directory Extension: Users can allow or disable to identify callers
- Contact Provider Extension: Must be activated by an Administrator in the AppConfig. Enables pushing contact data to iOS ContactsProviderExtension with lots of benefits.
Synchronization:
- Enabled: Users can enable or disable synchronization
- Mobile Data: Users can enable or disable mobile data usage to be used for data sync
- Interval: This option controls the synchronization interval
- Number of contacts: Here the user can see how many contact entries currently are on the device
- Clear local data: Users can discard all locally stored contact data and start with a fresh data sync
UI:
- Language: Users can choose German or English
- Show contact images: Users can activate or deactivate to display contact images provided by Exchange
- Show images only in detail view: Users can activate or deactivate to view contact images only in the contact detail view
- Debug logging: Activates a higher log level to trace problems
- Show logs: Users can view the last 10 entries in the log file. Also, the user can “export” the complete log file for sending it to support staff in case of problems. This entry is hidden, if no logs exist.
Sign out:
When clicking on “Sign Out”, users will be logged out and all data will be cleared. Sign out can be used, for example, when handing a device over to another user. The new user needs to set a new encryption password and login again once opening the app again.

04.6. Contact detail page
The contact detail page shows detailed information and offers to take different actions:
- Contact profile image (if activated)
- Full name
- Company name
- Department
- Job title
- Email address
- Business phone and mobile phone number
- Manager (if available): By clicking on the manager, the contact details of the manager will be shown.
Available actions:
Users can initiate actions by clicking on the appropriate icons:
- Send an SMS
- Initiate a call (native or MS Teams)
- Start a video call (Facetime or MS Teams)
- Send an email
